Got an old car and you don’t know what to do with it? Don’t sell it! Why not change car color instead?
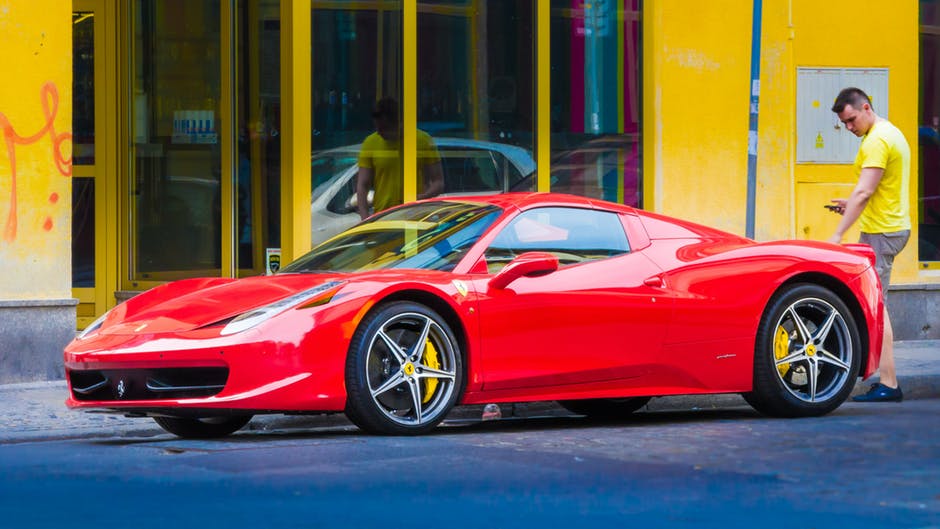
Car colors matter more than we think, too, as it may affect your safety. White, in particular, is the safest color, outranking silver and black. According to a study, white cars are 12% safer than black cars, and colors like peach and cream are safer, too.
Whatever your reason is, though, you must do it right. Changing the color of a car isn’t easy, but it’s doable if you follow these steps:
1. Choose the Right Color
You need to pick out a new color for your car first; to do so, consider the colors that appeal to you and the make and model of your car. Which color would look best will depend on your car itself; some models can sport some colors better than others.
Find Your Online Car Repair Manual Today! ->>
When choosing a color, make sure it will last the lifespan of your car unless you want to paint your car again in a couple of years or so. Fads will come and go, so make sure you’ll still like your choice of color a few years down the road.
If you’ve already chosen a paint color, choose what finish you want, as well. It can be metallic, but some colors will be more difficult to apply. Pearl colors look great, but it will show any inconsistencies. Solid colors are the cheapest and safest to apply, but they may look plain.
2. Buy the Necessary Supplies
Next, buy the supplies you’ll need, such as the paint, spray gun, and other painting equipment. You’ll need a paint thinner, a clear-coat lacquer, a primer, as well. Make sure you have enough of these for your whole car.
Small to medium-sized cars, in general, need about 1 gallon of primer, 3 gallons of topcoat, and 2-3 gallons of clear coat. Add half a gallon of primer and 1 gallon of topcoat and clear coat if you have a larger vehicle.
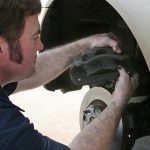
You’ll need to prepare your car, too, so you must have sandpaper, a sander, masking tape, and masking paper. You’ll also need some safety supplies, like a face mask and safety glasses. Find a working area with good ventilation, lighting, and lots of room.
3. Prepare Your Car for Painting
First, check for any signs of rusting first as it can spread if you don’t remove it. You can sand out some rust spots, but you’ll need to treat heavier rusts. You’ll also have to seal it with a rust converter product.
If there are any dents, have it fixed first before proceeding with the car paint job.
Afterward, it’s time for prepping; the first step is to sand down the car and then finish with wet-to-dry sandpaper. This makes for a smooth and even surface, allowing paint to bond with it in a proper manner.
This can take up to 2 hours per panel even if you don’t sand down to the bare metal. This isn’t necessary, as you only have to make sure there’s no glossy surface. However, working with a bare metal will help you achieve the best finish.
After sanding, get a clean rag and wipe down your whole car with thinners. This will remove any dust and particles so the paint goes on a smooth surface. Let it dry before proceeding with the next steps.
With the masking tape and masking paper, mask any areas you don’t want to be painted. Pay special attention to the interior of your car if you’re also painting it. You may remove other parts instead of masking them; car seats, the console, and trims are removable.
You might also have to remove the engine to prevent paint from coming in contact with it.
4. Prime Your Vehicle
This is the time to use your safety equipment; make sure you’re wearing proper clothing that covers the skin, as well. In this step, you’ll need a high-quality primer that has a specific use on metal surfaces.
First, mix the primer with paint thinners in a spray gun; the right ratio will be on the container. Then, keep the spray gun at least six inches from the car’s surface and spray using a horizontal, side to side motion. Keep it slow and steady.
You might have to practice your spraying technique first on a piece of metal before you move on to your car.
Remember that it’s important to apply an even layer of primer each time. Begin on the roof and apply 2 to 3 coats of primer. Let each coat dry for about 10 minutes before applying the next layer.
After you’ve covered the whole surface of the panel, let it cure for the time specified in the container. Move on to the next panel and continue until you’ve primed all the surfaces you want painted.
Before painting, sand it down again using 2000-grit sandpaper, which will smooth the surface again. Then, wipe it again with a clean rag and thinners; be careful in doing this as too much thinner can remove the primer.
5. Apply the Topcoat and Lacquer
Next, you’ll need to thin the topcoat with a thinner, too, with the recommended ratio on the container. Applying the topcoat uses the same techniques as applying the primer, only this time, you’ll need 3 to 4 coats. Make sure to let dry each layer first and then allow to cure at the end for 20 minutes to 1 hour.
Before you get to the last coat, though, sand it down again and then wipe with thinners. This will remove any powdery residue.
The last step involves applying the lacquer, which also uses the same technique as applying the primer and paint. You’ll need 1 to 2 coats of the lacquer and you’ll also need to let it cure for the specified time. While waiting for it to dry and cure, remove the masking paper, taking care not to let it touch the wet lacquer.
If there are any blemishes once the last coat of lacquer has dried down, you can sand the areas down with care and then respray. Once you’re satisfied, buff down the vehicle with a buffer.
Can You Change Car Color By Yourself?
As you can see, the steps to change car color is tedious and requires a lot of hard work. No matter how careful you were in each stage of the process, though, mistakes can still happen. Check out our other guides for more tips on restoring your car to make blemishes as minimal as possible.