
When Benjamin Franklin said, “Nothing can be said to be certain, except death and taxes,” he clearly forgot car maintenance and repairs.
Yearly upkeep on many newer models of cars still stack up at 500 or more. Jaguar’s, a lovely prestige vehicle, rank 4th on the most expensive with over $900 in yearly maintenance costs.
Thankfully, not all Jaguar repairs need to be handled by the dealership or a mechanic. A surprising number of small-scale repairs and preventative maintenance can be done at home.
The following 7 repairs can slash the yearly upkeep costs and keep you and your vehicle on the road longer.
Find Your Online Car Repair Manual Today! ->>
Jaguar Repairs
Repairs and maintenance don’t have to be the bane of your vehicle ownership. While some repairs will always need to be handled by a certified technician or dealership, others can be learned at home.
Certain intricate and fine-tuned components clearly need expertise. Like any high-end vehicle, Jaguar Repairs can involve precision work.
The following list comprises DIY and common sense repairs that keep costs down and prevent larger problems. We always recommended having a copy of your manual around while doing repairs, if for no other reason than to know where some screws and binders may be located without searching for them.
1. Replacing Fuses
With cars increasingly relying on electronics and computers to stay running, keeping the electrical system top-notch helps a lot.
Many smaller problems can become larger problems when they are not dealt with early. Changing out fuses helps to keep the electrical system from collapsing and also keeps the warning and monitoring systems online to alert you to more serious issues.
Common indicators of a brunt out fuse include lack of indicator lights, dash lights not shining, radio issues, climate control unresponsive.
Fuses take very little time to replace. Simply pop open the fuse box (again, go to the manual to find that if you don’t know its location). Broken fuses have tiny broken wires inside them, and are generally easy to see.
Pull out the old fuse, put in a new fuse in and then close it up. Start up the car and check that your systems all light up.
2. Brake Pads
Another of the easy to perform at home Jaguar repairs is brake pads. This important repair keeps the brakes responsive and effective.
Because of the level of importance of brakes to the safety of the vehicle, many opt to have brakes done by specialty shops only. Fortunately, changing brake pads isn’t difficult.
Brake pads need to be changed every 30-50,000 miles. The thickness of the material can be checked every 10k or so miles for undue wear.
The optimal thickness of a brake pad measure in at 10 mm. Getting under 3 mm indicates a pad about to fail.
To change a brake pad all you need to do is lift up the car, remove the tire and then remove the pad. Old pads snap out with a little leverage and new pads snap into place with a bit of a force.
Put the tire back on and tighten it up, drop the jack and it’s done.
3. Drive Belt
A repair so easy it can be done on the side of the road in minutes. Drive-belts start to squeal and squeak as they go bad. This sure-fire indicator can be heard for blocks when you fire up the car in the morning.
Older vehicles have upwards of 4 belts, but most modern Jaguars only have 2. That makes this one of the more infrequent Jaguar repairs.
Replacing a drive-belt comes down to loosening a single bolt, removing the old belt, putting the new one on, and tightening the bolt back up.
The auto tensioner bolt can be difficult to locate and access. This is another place where checking the manual does wonders for shaving time off the procedure. A socket wrench can help get into the sometimes tight locations. A screwdriver and gloves are recommended for removing the belt easily without mess.
4. Battery
While changing fuses stands as the fastest DIY repair, replacing a battery is the fastest of Jaguar repairs.
The tricky part of a battery replacement lies in the cable removal. The black (negative) cable should be removed first. Then the red (positive) cable.
Remove the battery (undoing any bolts holding it in place) and drop in the new one. Then reverse the cable order, putting on the red first and the black last. This prevents short-circuiting the new battery by discharging into a grounded part of the vehicle.
5. Exterior Coolant Leaks
Temperature control components tend to be one of the more frequent of Jaguar repairs. Knowing how to fix small external coolant issues can save you from making a bigger repair.
Common symptoms of coolant leaks show up underneath the car in the form of colored liquids. Green, orange, and yellow liquids indicate substance such as antifreeze.
Open the hood and look for liquid beading or leaking from a hose or plastic coupling. A leak you can see, you can fix. Unseen leaks may be internal components.
Those need more experienced hands to locate and repair.
A leak in a hose can be fixed by replacing the hose. Simply remove the clamps on either end, replace the hose, and reattach the clamps.
6. Air Filter
Speaking of keeping the climate control working, you can also change an air filter yourself. This will keep the temperature inside the vehicle from spiraling out of control and keep the coolant system able to do its job.
Check the manual for the location of the air filter housing. Open up the housing by removing a few screws. Swap out the old filter for a new and then tighten everything back down.
Check the filter about every 15-30k miles to keep it in top condition.
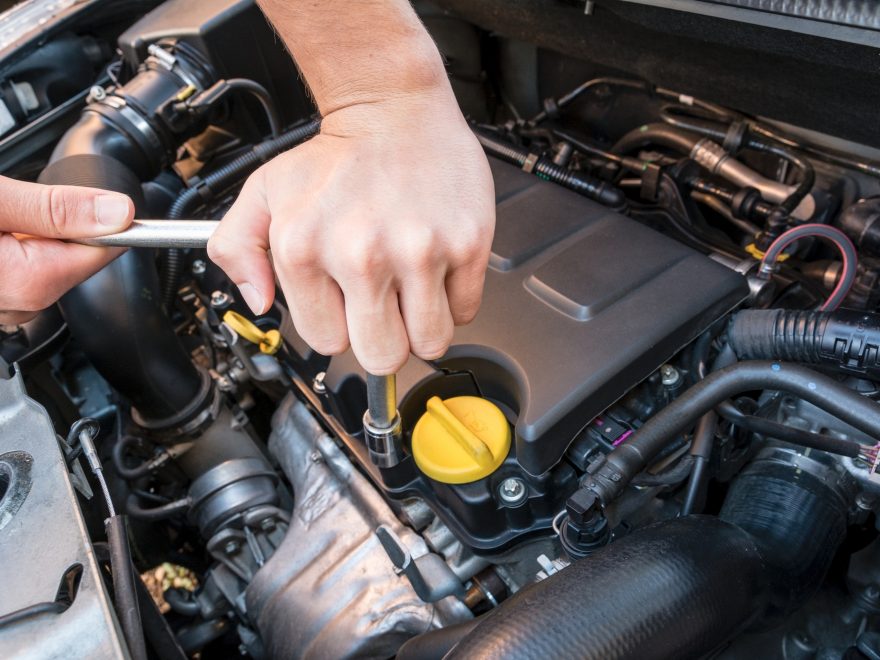
7. Check and Fill Fluids
Finally, checking the fluid levels keeps everything in balance. Not only does this help you notice leaks and get a sense of how the engine compartment looks, but it also keeps you from running low on essential products.
We recommend checking the fluids every 1,000 miles. You will want to check the washer fluid, coolant tank, oil, transmission fluid, and power steering. Each of these has a reservoir housed in the engine compartment.
Oil and transmission have dipsticks to indicate levels. Other fluids can be checked by eyeballing the reservoir and filling to an indicated line.
Keeping the fluids full keeps the car running smoothly and repair costs down.
More DIY Repairs
Whatever auto you own, we have some ideas of how to keep it running. Check out our blog for weekly updates and new ideas.